Cooking with an iron is easier than pressing a shirt. Why bother? Maybe you forgot to pay the gas bill. Or perhaps, like Denzel Washington’s character in Spike Lee’s flick “He’s Got Game,” you frequent low rent flophouses where “room service” charges by the hour — and wants the money up front. At Motel 6 they don’t deliver anything. And if you’re lucky enough to be holed up in a Swiss hotel that provides plenty of the old-fashioned room service, you’d better be ready to pay the price. There, the average grilled cheese sandwich can cost upward of fifteen bucks (including tax, service charges and mandatory tip). Sure, the accompanying crisp white linens, fresh cut flowers and miniature condiments can dress it up to look like haute cuisine, but at the end of the day, it’s still just a grilled cheese sandwich. The next time the craving strikes, dial housekeeping, not room service. Once you’ve ironed yourself the classic American snack, you might even be inspired to use the iron for something truly wacky, like getting the wrinkles out of your shirt.
The Instruction Manual
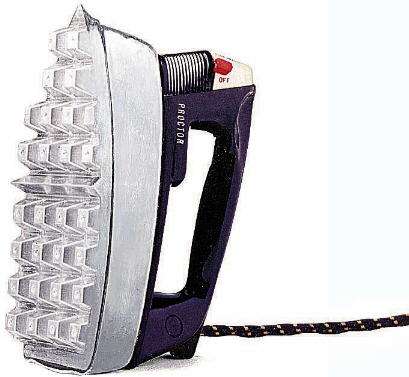
Preheat the iron on the “linen” setting. Assemble your sandwich, quesadilla or wrap. Insert it in a standard issue brown paper lunch bag, or wrap it in aluminum foil, and set the iron on top for three to four minutes per side (see diagram A). If the sandwich has a flat surface, let the full weight of the iron rest on the package. There’s no need to hold it in place. For reasons I cannot explain, it’s not necessary to use butter to grease the surface of the bag or the foil (another benefit of this culinary technique). Wrapped store-bought foods such as refrigerated burritos can be heated in their original packaging — as long as there’s no plastic involved — after making a small incision to allow hot air to escape.
“Pressed” Sandwiches
In your quest to become an IronMan or woman, begin with the simplest form of grilled sandwich: the classic American grilled cheese (probably labeled as such by a French chef). Once you’ve mastered the art of pressing cheese between crisply browned slices of WonderBread, you can expand your horizons to include other international specialties. Try a simple quesadilla with Monterey Jack cheese and a few slices of jalapeño pepper melted between two small flour tortillas. Then, when you are ready for a greater challenge, take your cue from the Italians who’ve turned grilled sandwiches into an art form called panini. In addition to a wide variety of cheese, they add grilled eggplant, roasted bell pepper, and thinly sliced meats.
Your Basic “Pressed” Cheese Sandwich 
(serves 1)
1 12 x 12-inch sheet of aluminum foil or 1 small brown paper bag
2 slices of WonderBread or any other sliced bread
3 slices of American cheese or the equivalent amount of any superior foreign import
1) Pre-heat iron on the “linen” setting.
2) Place cheese between the two slices of bread. Either wrap foil around the sandwich and pinch it to seal, or stick the sandwich in the bag and roll up the end.
3) Following the face-down method, carefully balance the iron on top of the package for approximately three minutes. Flip the sandwich and repeat on the other side for another three minutes.
Music to Iron By: Whatever’s on MTV
Recommended Wine Pairing: Whatever’s in the mini-bar